Mastering the Distance: A Complete Guide to Managing Your Bali Villa Build From Overseas
By Jaya Construction BaliJuly 22, 20267 min read
In this article
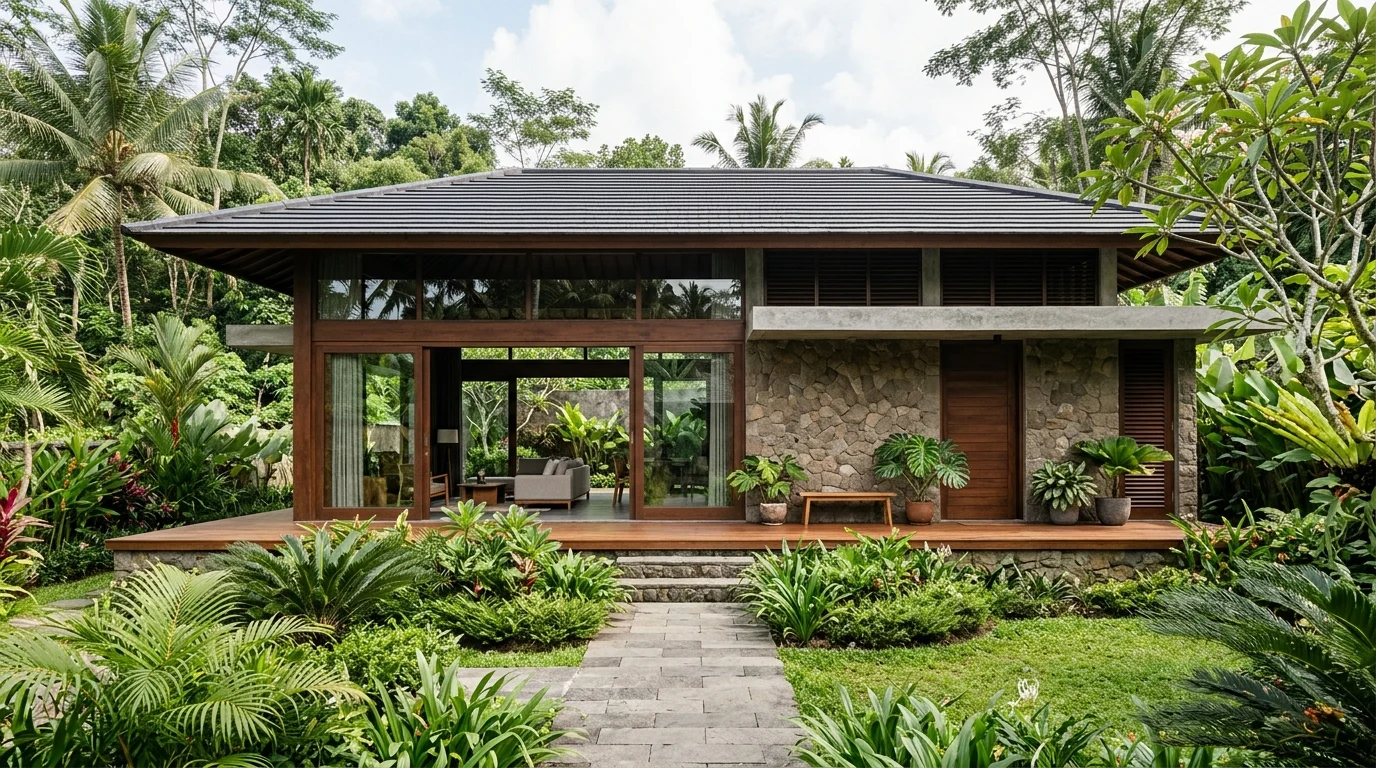
The dream of owning a custom-built villa in Bali—a personal paradise amidst rice terraces and frangipani trees—is a powerful one. For many, this dream begins from thousands of miles away. The prospect of managing a construction project across continents, time zones, and cultural boundaries can seem daunting, fraught with risks of miscommunication, budget overruns, and unsatisfactory results. However, with meticulous planning, the right team, and a robust system, building your Bali villa from abroad can be a smooth and rewarding journey. This guide provides a comprehensive roadmap to navigate the complexities, ensuring your vision is realized to the highest standard, even when you can’t be on-site daily.
Phase One: The Foundation of Success – Pre-Construction Planning
The most critical work begins long before the first shovel hits the ground. Overseas management demands that the foundational stages be executed with exceptional diligence, as they set the trajectory for the entire project.
1. Assembling Your Local Powerhouse Team
Your single most important decision is hiring a team you trust implicitly. As an overseas owner, you cannot oversee daily operations. Therefore, you need:
A Reputable Project Manager (PM) or Construction Manager: This is your local proxy. This person or firm will be your eyes, ears, and hands on the ground. They are responsible for overseeing the contractor, managing timelines, conducting quality checks, handling permits, and solving problems. Their integrity, communication skills, and experience with foreign clients are paramount. A strong, communicative Project Manager is the linchpin of your entire project.
An Experienced Architect/Designer: They translate your ideas into technical drawings that comply with local building codes (IMB – Izin Mendirikan Bangunan) and suit Bali’s unique climate and topography. Choose someone who understands your aesthetic and has a portfolio of successful villa builds.
A Legal Advisor: Essential for navigating land lease agreements (Hak Sewa) or ownership structures (via a PT PMA company), ensuring all contracts are watertight and protecting your interests.
2. Defining the Vision with Unambiguous Clarity
Distance amplifies misunderstandings. Your design brief must be exhaustive.
Detailed Architectural Plans: Invest in complete 2D construction drawings, 3D renderings, and material specifications. Leave nothing to imagination.
A Comprehensive Material Specification Book: Select and specify every tile, fixture, fitting, paint color, wood type, and stone down to the supplier or code. This prevents “approximate” substitutions during the build.
A Realistic Budget with Contingency: Work with your PM and architect to establish a detailed bill of quantities. A contingency fund of 10-20% is non-negotiable for unforeseen issues, from soil conditions to material price fluctuations.
3. Ironclad Contractual Agreements
Your contracts with the architect, PM, and main contractor are your primary tools for accountability.
Fixed-Price vs. Cost-Plus Contracts: For overseas owners, a fixed-price contract with a reputable contractor offers more budget predictability. A cost-plus model requires even more active management and trust.
Milestone-Based Payments: Structure payments around clearly defined, independently verifiable project milestones (e.g., foundation complete, walls up, roof on, rough plumbing, final handover). Never pay far ahead of work completed.
Detailed Scope of Work: The contract must include the full set of architectural drawings and the material specification book as appendices.
Phase Two: Navigating the Build – Communication & Remote Oversight
With construction underway, your role shifts to vigilant oversight through systems and communication.
1. Establishing a Communication Protocol
Define how you will stay informed and make decisions.
Regular Reporting Schedule: Mandate weekly written reports with photos and videos from your PM. These should cover progress, upcoming activities, issues encountered, and financials.
Tool Integration: Utilize project management platforms (like Procore, Buildertrend, or even a shared Trello/Asana board) for document storage, task tracking, and communication. This creates a searchable history.
Virtual Site Tours: Schedule regular video calls (WhatsApp, Zoom) where your PM walks the site with you, showing specific areas in real-time. This is invaluable for making on-the-spot decisions about aesthetics or layout adjustments.
2. Quality Control from Afar
You must trust but verify.
Independent Inspector: Consider hiring a separate, independent quality control inspector to visit the site at key stages (e.g., post-rebar inspection, pre-plaster). They provide an unbiased assessment for you.
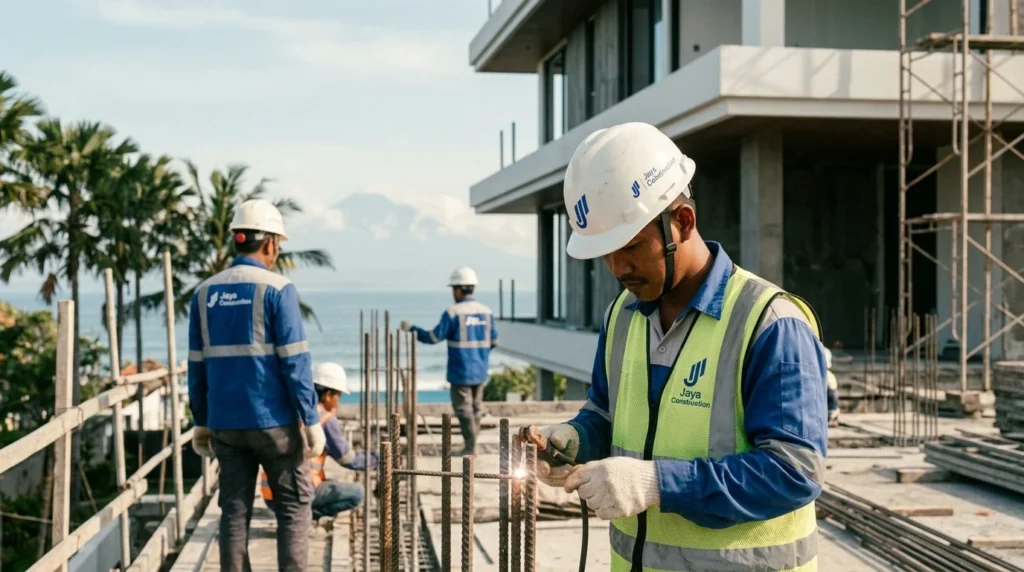
Photo Documentation with Rules: Require your PM to provide high-resolution photos of critical hidden elements before they are covered up (e.g., rebar in foundations, plumbing rough-ins, electrical conduits). These are your proof of quality.
Sample Approval: Have physical material samples (tiles, wood stains, paint chips) sent to you for final approval before they are ordered in bulk.
3. Financial Management & Transparency
Keep a tight rein on the budget.
Detailed Monthly Financial Statements: Your PM or accountant should provide statements showing all expenses, with invoices and proof of payment attached.
Separate Project Bank Account: All funds for the build should be held in a dedicated bank account controlled by your PM or through an escrow service, with withdrawals tied to milestone approvals.
Direct Supplier Payments (Optional but Recommended): For major material purchases (roofing, windows, fixtures), you may consider paying the supplier directly to ensure funds go where intended, though your PM must still coordinate delivery.
Phase Three: The Critical Final Stages – Snagging, Handover, and Beyond
The final 20% of the project often contains 80% of the detail work and potential pitfalls. This phase requires your focused attention.
1. The Meticulous Snagging Process
“Snagging” is the process of identifying and listing every minor defect or unfinished item.
Professional Snag List: Engage your independent inspector or a specialized snagging service to conduct a thorough inspection and produce a detailed list with photos.
You Review the List: The list must be sent to you, and you should add your own observations based on the video tours.
Contractor’s Duty: The contractor is contractually obliged to rectify every item on the final, agreed snag list before final payment is released. Do not make the final payment until the snag list is 100% complete and you have verified it.
2. The Handover and Documentation
A formal handover is more than just getting the keys.
Official Handover Meeting: Your PM and contractor should walk through the property with a representative (if you are not present) to confirm all works are complete and snag items are resolved.
Collect All Documentation: This includes as-built drawings, all warranties for equipment and materials, official permits (IMB, SLF), user manuals for appliances and systems, and all spare keys.
Practical Run-Through: Ensure a video call where the PM or contractor demonstrates how all systems work: the pool pump, AC units, security system, water filters, and generators.
3. Post-Handover Support and Maintenance
Your relationship with the team doesn’t end at handover.
Defects Liability Period (DLP): Most contracts include a DLP of 3-12 months after handover. During this time, the contractor is legally responsible for rectifying any defects that arise, like leakages or cracks, at no cost.
Establish a Maintenance Routine: Arrange for a reliable local villa manager or maintenance company to handle regular upkeep. Provide them with the documentation and contact details for the original suppliers/contractors.
Embracing the Cultural Context: The “Bali Factor”
Managing a build in Bali isn’t just about logistics; it’s about understanding a different work culture.
Relationship-Based Business: Decisions and trust are often built on personal relationships (Gotong Royong), not just contracts. Invest time in building rapport with your team through respectful communication. The silaturahmi (networking and harmony) is important.
Flexibility and Patience: Time and approaches can be more fluid. Rainy seasons, ceremonies (Hari Raya), and material sourcing can cause delays. A rigid, purely Western mindset can lead to frustration. Build a schedule with buffers.
The Importance of Face: Publicly criticizing or aggressively confronting your team can backfire, causing them to withdraw. Address issues calmly and privately, often mediated through your trusted PM. This is a key cultural bridge to maintain.
Conclusion: Trust, But Verify
Building a villa in Bali from overseas is a monumental undertaking, but it is entirely achievable. The process is a marathon of planning, not a sprint. Success hinges on three pillars: hiring an exceptional local team you trust, implementing transparent and rigorous management systems, and embracing cultural understanding with patience.
Your role evolves from a hands-on manager to a strategic director, making key decisions based on curated information. By investing in the pre-construction phase, maintaining clear and constant communication, and applying diligent oversight through milestone payments and independent checks, you mitigate the inherent risks of distance. The result is not just a beautiful property, but a testament to your foresight and preparation—a personal haven built with your vision, managed with your intelligence, and ready to welcome you home. The challenges are real, but with this structured approach, the dream of your Bali villa is well within your grasp.
 By Jaya Construction Bali July 22, 2026
7 min read
By Jaya Construction Bali July 22, 2026
7 min read