The Villa Construction Timeline: A Comprehensive Phase-by-Phase Guide from Land to Handover
By Jaya Construction BaliJuly 28, 20269 min read
In this article
Building a custom villa is one of the most significant and rewarding personal investments a person can undertake. It transforms a vision into a tangible, living space. However, the journey from an empty plot of land to the final handover of keys is a complex process filled with critical milestones, potential challenges, and meticulous planning. Understanding the villa construction timeline is not just about managing dates on a calendar; it is about managing expectations, budgets, and peace of mind. A well-defined timeline provides a roadmap, helping homeowners navigate the intricate dance of permits, contractors, and material deliveries. This article provides a detailed, phase-by-phase breakdown of the typical villa construction journey, offering insights into what happens at each stage and how long it usually takes.
Introduction: Why a Realistic Timeline is Your Best Blueprint
Before the first shovel hits the ground, the most crucial tool is a realistic and well-researched timeline. Every construction project is unique, influenced by factors like plot topography, villa design complexity, local regulatory environment, climate, and the efficiency of the chosen construction team. A typical standalone villa construction project, from initial design to final handover, can take anywhere from 12 to 24 months, with some highly complex projects extending beyond that. This timeframe is not arbitrary; it is dictated by the sequential nature of construction, necessary curing times for materials, and mandatory inspection points.
A transparent timeline fosters a collaborative relationship between the homeowner, architect, and contractor. It sets clear expectations for deliverables and payments, helps in scheduling personal arrangements (like selling a current home), and acts as an early warning system if the project starts to deviate from plan. Let’s embark on this journey, breaking it down into its fundamental phases.
Phase 1: Pre-Construction – The Foundation of Success (3-6 Months)
This is arguably the most critical phase, where the project’s feasibility, design, and legal footing are established. Rushing through pre-construction almost always leads to costly changes, delays, and disputes later.
### 1.1 Land Acquisition and Due Diligence
The process begins with securing the land. Beyond purchase, due diligence is non-negotiable. This involves:
Title Search and Verification: Ensuring the land is free of liens and encumbrances.
Zoning and Land Use Compliance: Confirming that the intended villa use (residential) is permitted and understanding any restrictions on height, setbacks, or coverage ratio.
Soil and Topographical Survey: A geotechnical report determines soil bearing capacity, which directly influences foundation design and cost. A topographical survey maps the land’s contours, which is essential for accurate architectural design and drainage planning.
### 1.2 Architectural Design and Engineering
This is where your vision takes shape. The process is iterative:
Schematic Design: Initial sketches and floor plans to establish the layout, flow, and general aesthetic.
Design Development: Refining the schematic into detailed plans, including elevations, sections, and preliminary material selections.
Construction Drawings (CDs): The final, detailed set of drawings and specifications that the builder will use. These include structural, electrical, plumbing, and mechanical drawings.
Engineering: Structural, civil, MEP (Mechanical, Electrical, Plumbing) engineers work alongside the architect to ensure the design is safe, functional, and compliant with codes.
### 1.3 Securing Permits and Approvals
Submitting the Construction Drawings to the local municipal authority (such as a Planning Department or Building Department) is a major milestone. The review process can be lengthy, often taking several weeks to months. Obtaining the official building permit is the green light that legally authorizes construction to begin.
### 1.4 Contractor Selection and Contract Finalization
Choosing the right builder is as important as the design itself. This involves soliciting bids, vetting references, reviewing past work, and negotiating contracts. The contract should clearly outline the scope of work, payment schedule tied to milestones, timelines, change order procedures, and warranties.
Phase 2: Site Preparation and Foundation (1-2 Months)
With permits in hand and a contractor selected, physical work commences.
### 2.1 Site Mobilization and Clearing
The construction team mobilizes equipment and sets up site offices, storage, and safety barriers. The land is cleared of vegetation, debris, and any existing structures. Rough grading is done to prepare the site.
### 2.2 Excavation and Foundation Work
This is the first visible step of construction.
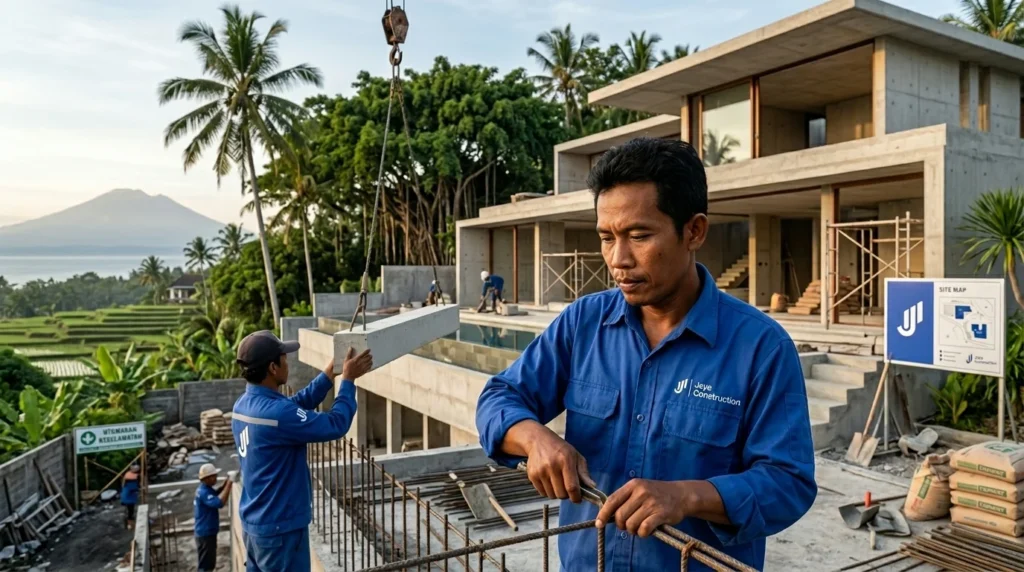
Excavation: Trenches are dug for the foundations (strip footings) or holes for piles/raft foundations, based on the structural engineer’s design.
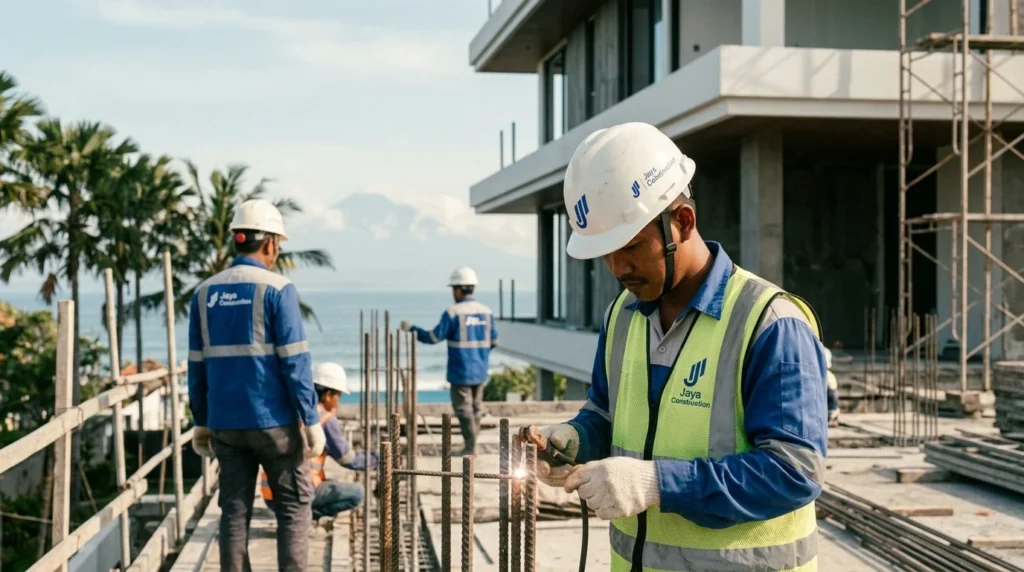
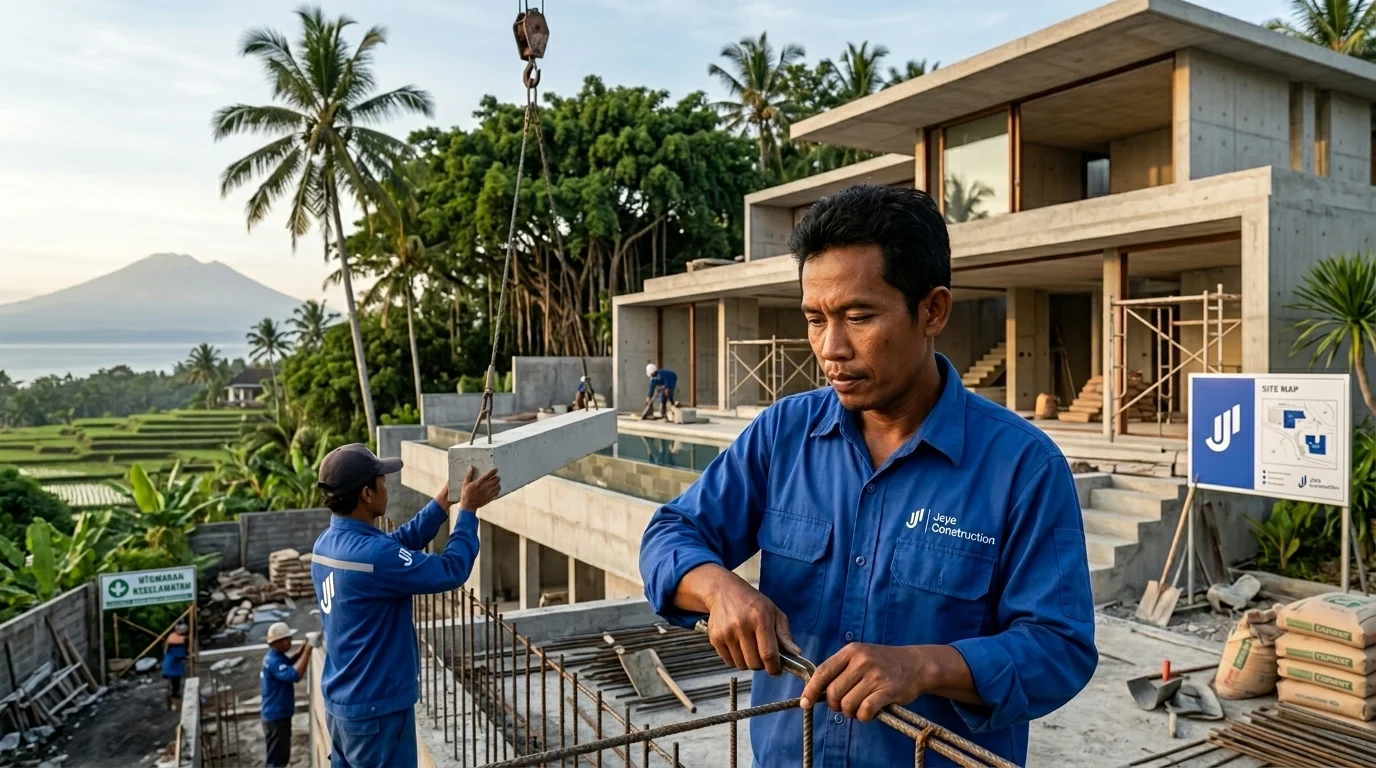
Formwork and Reinforcement: Wooden or steel forms are built to shape the concrete, and steel rebar cages are placed inside to reinforce the foundation.
Pouring Concrete: The concrete for footings and foundation walls is poured. This is a major milestone. The foundation is the literal and figurative base of your villa; its quality is paramount. After pouring, the concrete needs time to cure and gain strength, a process that cannot be rushed.
### 2.3 Slab-on-Grade and Waterproofing
Once foundation walls are cured, work proceeds to the ground floor slab. A vapor barrier, gravel layer, and sand bed are prepared before the steel reinforcement mesh is laid and the concrete slab is poured. Crucial waterproofing and damp-proof membranes are applied to the foundation walls before backfilling.
Phase 3: Structural Frame and Superstructure (3-5 Months)
With the foundation complete, the villa starts to rise from the ground, moving into a phase often referred to as the “rough structure.”
### 3.1 Erection of the Structural Frame
Depending on the design and local practice, the frame can be:
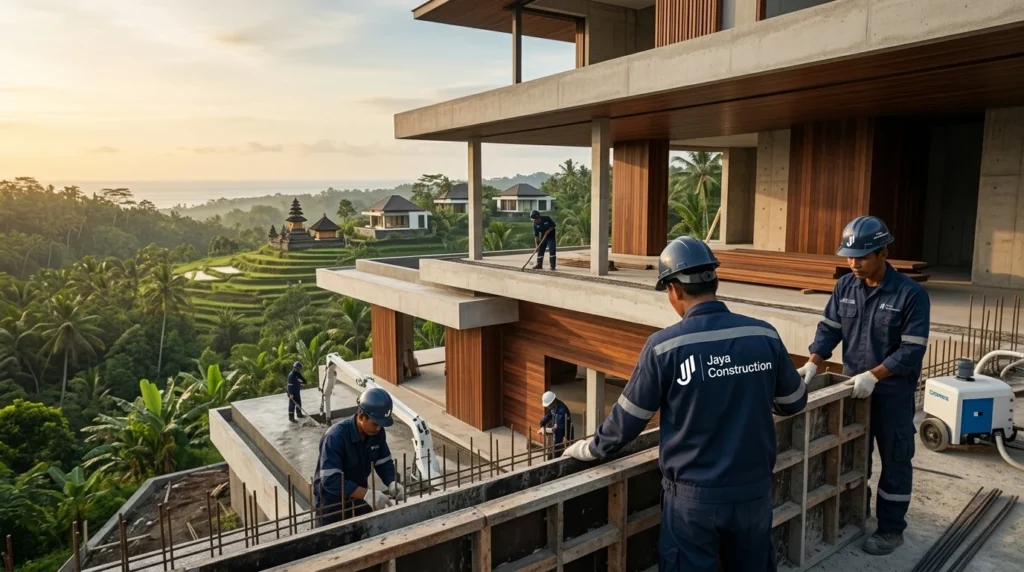
Reinforced Concrete Frame: Columns, beams, and slabs are cast in situ using formwork and rebar. This is a sequential process, floor by floor.
Structural Steel: Pre-fabricated steel columns and beams are erected and bolted together.
Timber Frame: Prefabricated timber sections are assembled on-site.
Insulated Concrete Forms (ICF) or Concrete Masonry Units (CMU): Walls are built from specialized blocks that provide insulation or structural integrity.
### 3.2 Roof Structure Installation
Once the top floor slab (or ring beam) is cured, the roof structure is built. This could be a timber truss system, steel structure, or cast-in-place concrete roof deck. The roof sheathing (plywood or OSB) is installed, followed by the critical layer of waterproofing underlayment.
### 3.3 External Walls and Initial “Drying-In”
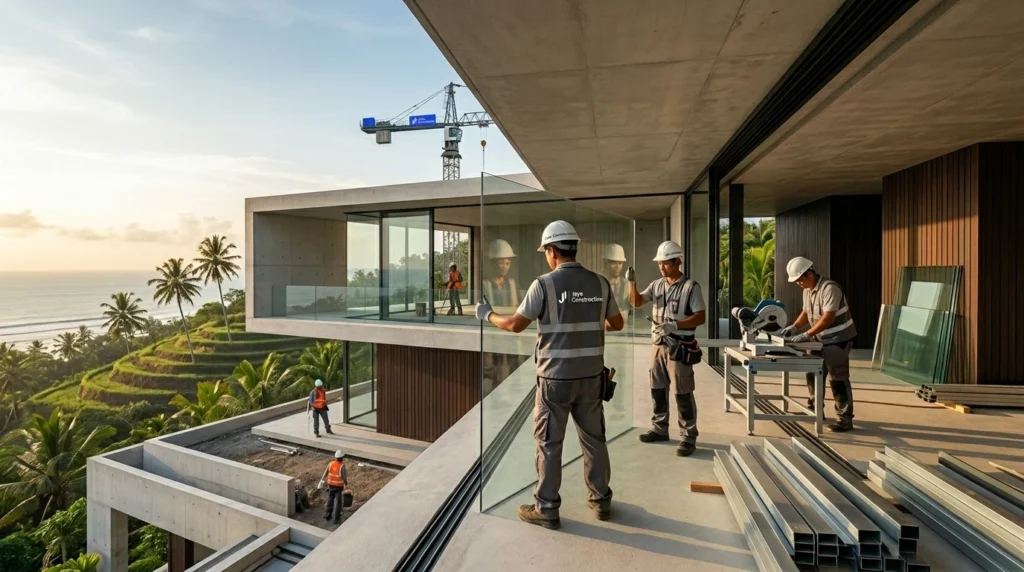
Exterior walls are built up between the structural frame using chosen materials (brick, block, etc.). Windows and exterior doors are installed. The roof covering (tiles, metal sheets, membranes) is completed. Reaching this point—where the building is structurally complete and protected from the weather—is a major milestone known as being “dried-in” or “watertight.” This protects all subsequent interior work.
Phase 4: Major Systems and Internal Rough-Ins (2-3 Months)
This phase involves installing the essential “veins and nerves” of the house within the walls and floors, before they are covered up.
### 4.1 Mechanical, Electrical, and Plumbing (MEP) Rough-In
Electrical: Conduits, electrical boxes, and wiring for power, lighting, and data/communication are installed throughout the walls and ceilings.
Plumbing: Water supply lines (hot and cold), drain-waste-vent (DWV) pipes, and sewer connections are run.
HVAC: Ductwork for heating, ventilation, and air conditioning is installed, along with refrigerant lines and condensate drains.
### 4.2 Insulation
Insulation is critical for energy efficiency and comfort. It is installed in exterior walls, attic spaces, and sometimes under the slab, based on the energy model and local code requirements.
### 4.3 Interior Wall Framing and Sheathing
Interior partitions are framed (usually with metal studs or timber). In wet areas like bathrooms, moisture-resistant backer board (like cement board) is installed instead of regular drywall.
### 4.4 First Round of Inspections
Before closing up the walls, a series of mandatory inspections must be passed. Building inspectors will verify the structural frame, MEP rough-ins, and insulation. This is a critical quality control and compliance check. Only after these inspections are approved can walls be closed.
Phase 5: Interior Finishes and Systems Completion (4-6 Months)
This is the longest and most detailed phase, where the villa starts to look and feel like a home. It requires careful coordination among many specialized trades.
### 5.1 Hanging Drywall and Interior Plastering
Gypsum board (drywall) is hung on all interior walls and ceilings. The joints are taped, mudded, and sanded to create a smooth surface. In some construction methods, a wet plaster system is applied directly to masonry walls.
### 5.2 Installation of Interior Doors and Millwork
Interior doors, closet systems, and built-in cabinetry are installed. This includes kitchen cabinets, bathroom vanities, and other bespoke woodwork.
### 5.3 Finishing Trades
Flooring: Installation of chosen finishes—hardwood, tile, stone, carpet, polished concrete.
Painting and Wall Coverings: Priming and painting all walls, ceilings, and trim. Application of wallpaper or other wall treatments.
Tiling: Backsplashes in kitchens and bathrooms are tiled.
Countertops: Natural stone or engineered countertops are templated, fabricated, and installed.
### 5.4 MEP Finishes and Fixture Installation
Electrical: Light fixtures, switches, outlets, and faceplates are installed. The electrical panel is finalized and connected.
Plumbing: Sinks, toilets, faucets, showers, bathtubs, and appliance hookups are installed. The water heater is connected.
HVAC: The furnace/air handler and condenser units are installed and connected to the ductwork. Thermostats are mounted.
Low Voltage: Home automation, security, and audio/video systems are installed.
### 5.5 Appliance and Final System Installations
Kitchen appliances (oven, cooktop, refrigerator, dishwasher) are delivered and installed. The fireplace is completed and tested.
Phase 6: Exterior Finishes and Landscaping (Concurrent with Interior)
While the interior is being finished, work continues outside.
Exterior Cladding and Rendering: The final exterior facade material (stone, stucco, siding, render) is applied.
Hardscaping: Driveways, walkways, patios, and retaining walls are constructed.
Landscaping: Grading for lawns, planting of trees and shrubs, and installation of irrigation systems.
Fencing and Gates: Perimeter fencing and entry gates are installed.
Phase 7: Punch List, Final Inspections, and Handover (1-2 Months)
The final stretch is about attention to detail and official clearance.
### 7.1 Substantial Completion and Punch List
When the contractor deems the project substantially complete, the homeowner (often with their architect or agent) conducts a thorough walk-through. They create a “punch list”—a detailed document of minor defects, incomplete items, or adjustments needed (e.g., a paint touch-up, a sticking door, a missing trim piece). The contractor then addresses all items on this list.
### 7.2 Final Inspections and Certificate of Occupancy
The local building department conducts a final inspection. Once they confirm all work complies with the approved plans and codes, they issue a Certificate of Occupancy (CO). This document is essential; it legally declares the building safe for habitation and is required for utility connections and legal transfer.
### 7.3 Final Cleaning and Handover
A professional post-construction clean is performed to remove all dust, debris, and construction residues. The contractor then hands over all keys, garage door openers, warranties for materials and systems, operation manuals, and as-built drawings. The final payment is typically made upon this official handover.
Conclusion: From Blueprint to Reality
The journey from land to handover is a marathon, not a sprint. Each phase builds upon the last, and skipping steps or rushing processes invariably leads to problems down the road. While the timeline outlined here—approximately 18 to 24 months from design to move-in—serves as a reliable guide, flexibility is key. Weather delays, material shortages, and inspection cycles are variables that must be accounted for.
The most successful villa construction projects are those where the homeowner is informed, involved, and communicative. Understanding this timeline empowers you to be an effective partner to your architect and builder, to ask the right questions at the right times, and to celebrate each milestone as your dream home steadily rises from the ground. The moment you receive those final keys and step into your completed villa, the trials of the process fade, replaced by the profound satisfaction of seeing a personal vision become a permanent place of comfort and joy.
 By Jaya Construction Bali July 28, 2026
9 min read
By Jaya Construction Bali July 28, 2026
9 min read