Back to the journal
Construction insights
In this article

Owning a villa in Bali is a dream realized—a personal oasis amidst lush rice terraces, vibrant culture, and the gentle whisper of palm leaves. However, this idyllic setting comes with a unique set of environmental challenges that silently but persistently work against your property’s pristine condition. The relentless tropical climate, characterized by intense UV radiation, heavy seasonal monsoons, high humidity, and the potential for mold and insect activity, necessitates a proactive and informed approach to maintenance. Central to the long-term preservation of your investment and its aesthetic appeal is the disciplined practice of repainting and resealing. This isn’t merely a cosmetic refresh; it is a critical, cyclical process that protects the structural integrity, prevents costly decay, and ensures your Bali sanctuary remains a vibrant and welcoming haven for decades to come.
The Balinese Climate: Understanding the Adversary
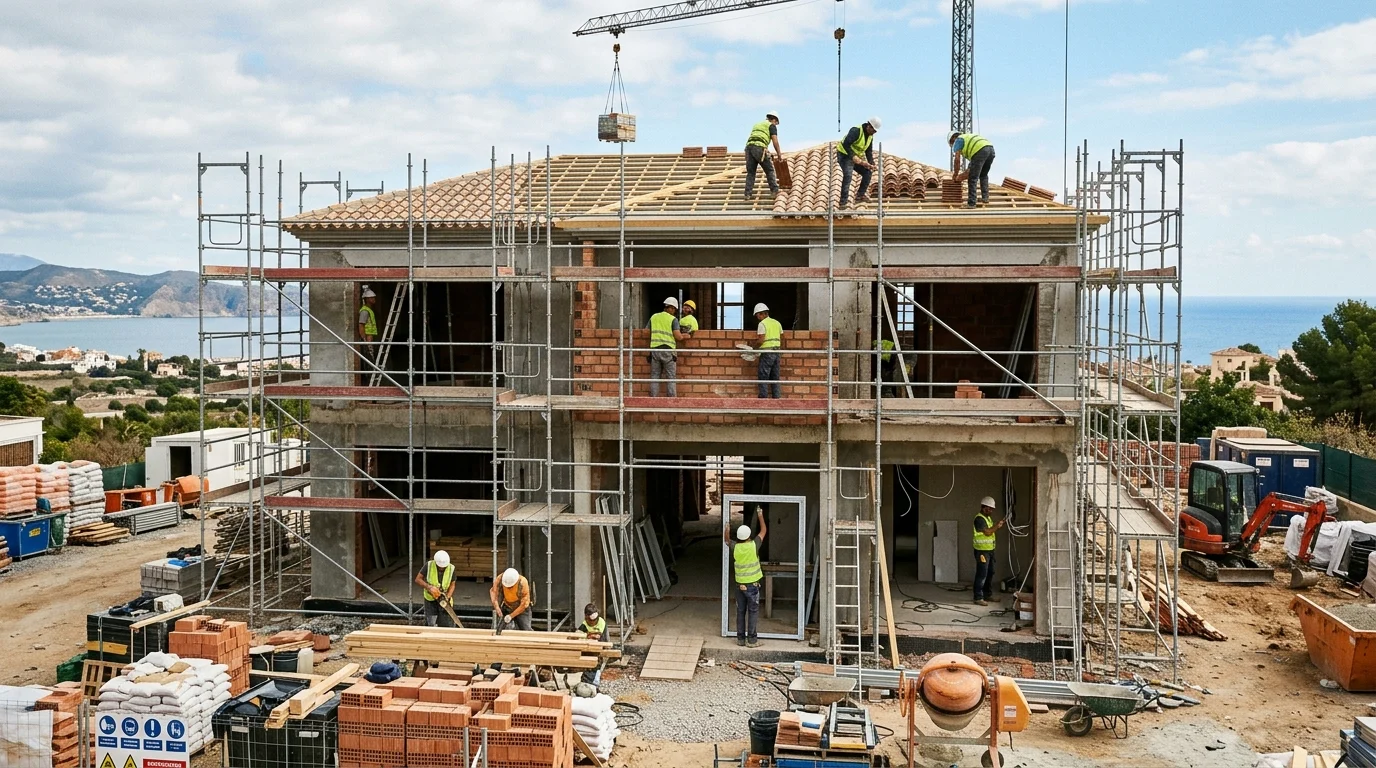
Before delving into the “how,” it’s essential to understand the “why.” Bali’s environment is beautiful but demanding on building materials. The primary antagonists are sun, water, and biology.
Intense UV Radiation: The equatorial sun is powerful. Ultraviolet rays break down the molecular bonds in paint and sealant finishes over time, causing them to fade, chalk, become brittle, and eventually peel. This degradation doesn’t just dull colors; it exposes the underlying material—whether it’s tropical hardwood, porous sandstone, or concrete—to direct damage.
Heavy Monsoon Rains and High Humidity: Bali’s wet season brings torrential downpours, followed by periods of intense humidity. Water is the ultimate enemy of building integrity. Without a perfect seal, moisture penetrates wood, causing rot and warping. It seeps into cracks in stone and concrete, where it can expand and contract with temperature changes, leading to structural spalling. Humidity also creates a perfect breeding ground for mold, mildew, and algae, which not only look unsightly but also feed on and degrade surface materials.
Biological Activity: The lush environment means insects, particularly termites and wood-boring beetles, are a constant threat. A compromised paint film or sealant barrier provides easy access for these pests to the nourishing wood beneath.
A consistent repainting and resealing schedule is your primary line of defense, creating a resilient, impermeable shield against this trifecta of destructive forces.
Planning Your Maintenance Cycle: A Timeline for Longevity
Proactive maintenance is far more cost-effective than reactive repairs. Establishing a clear timeline is crucial.
Visual Inspection (Bi-Annual): At the start and end of the dry season (April-May and September-October), conduct a thorough walk-around. Look for telltale signs: chalking paint (a fine powder on the surface), fading colors, hairline cracks in sealant around windows and doors, any bubbling or blistering, and early signs of mold or algae in shaded, damp areas.
Routine Upkeep (As Needed): Keep walls clean. Annually washing exterior surfaces with a low-pressure spray and a mild, biodegradable cleaner removes dirt, pollution, and early biological growth, extending the life of your finishes.
The Repainting & Resealing Cycle:
Adhering to this schedule prevents small issues from escalating into major problems like rotten timber, compromised structural elements, or interior water damage.
Selecting the Right Materials for the Tropics
Using standard products from temperate climates is a recipe for failure in Bali. Your material selection must be specifically tailored to the harsh environment.
Paints:
Sealants:
For Wood Surfaces:
The Professional Process: Execution is Everything
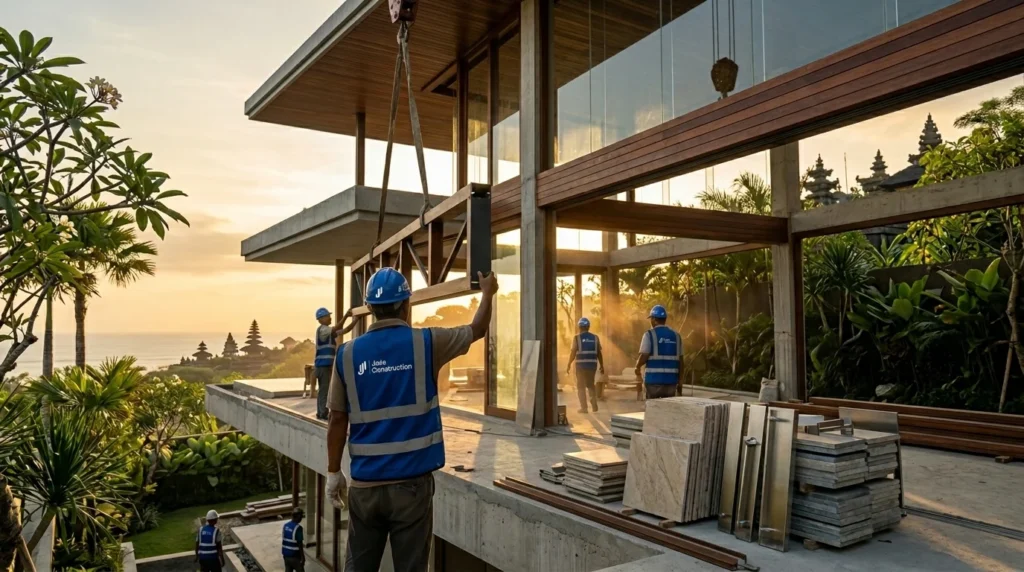
Even the best materials will fail if the application is poor. The process is labor-intensive and requires meticulous attention to detail, which is why hiring experienced, reputable local contractors is a wise investment.
1. Surface Preparation (The Most Critical Stage):
2. Application:
3. Curing:
The Aesthetic Dimension: Preserving Balinese Character
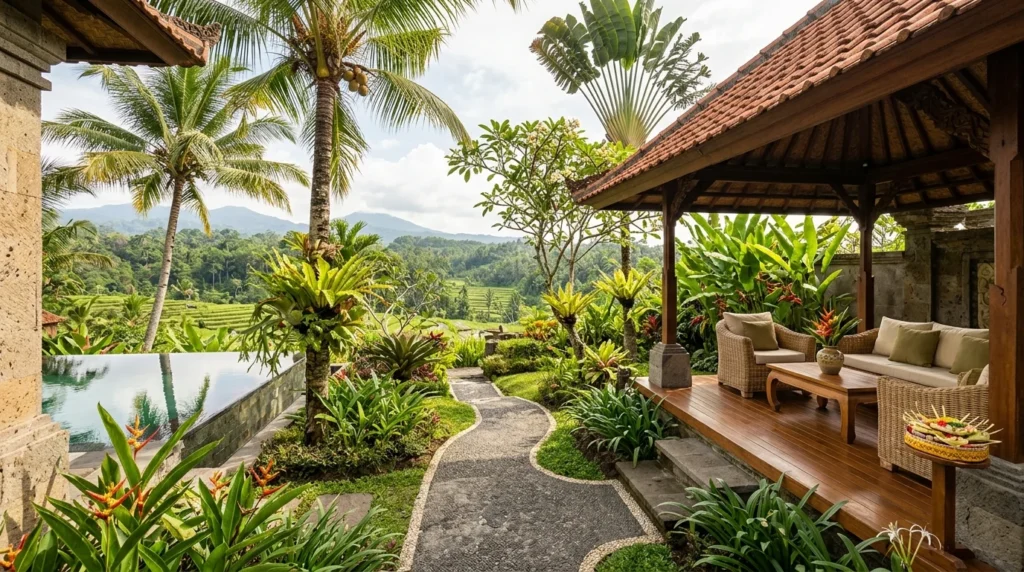
Repainting is also an opportunity to refresh and enhance your villa’s aesthetic. The Balinese design ethos often embraces natural colors—earthy ochres, terracotta reds, deep greens, and creamy whites—that blend seamlessly with the landscape. A skilled painter can expertly restore weathered wood carvings (ukiran), touch up intricate motifs on walls, and ensure the color palette continues to reflect the desired tropical modern or traditional alang-alang roof charm. This attention to detail maintains the property’s cultural resonance and visual appeal.
Conclusion: An Investment in Enduring Beauty
Viewing the periodic repainting and resealing of your Bali villa not as an expense, but as a vital investment in its longevity, is the key mindset for a successful owner. This disciplined maintenance is what separates a property that deteriorates into a costly burden from one that matures gracefully, increasing in both personal value and market appeal.
By understanding the environmental challenges, planning a proactive cycle, selecting superior materials, and insisting on professional preparation and application, you are not merely applying color and sealant. You are actively building a resilient, beautiful, and enduring sanctuary. This ongoing commitment ensures that your piece of paradise remains exactly that—a well-preserved paradise that can be enjoyed for generations, standing strong against the magnificent but powerful forces of its tropical home.
Put the insight to work
Discuss your project
Planning a construction project in Bali?
Share your site, plans, priorities, or questions. Our team can help turn early information into a practical construction path.